How to Film a Dental Patient Testimonial Video [2024 Updated]
Recording a dental patient testimonial video is one of the most powerful ways to establish your dental practice’s credibility. Why is that? Well, when was the last time you bought a product on Amazon without reading the reviews? Maybe you even took things a step further and watched some Youtube unboxings and demonstrations. Most people […]
Recording a dental patient testimonial video is one of the most powerful ways to establish your dental practice’s credibility. Why is that? Well, when was the last time you bought a product on Amazon without reading the reviews? Maybe you even took things a step further and watched some Youtube unboxings and demonstrations. Most people decide whether or not to buy a product based on the opinions of other customers. They want to know a few things.
Were other users satisfied with the brand? Were there any major defects with the product? Did it deliver on the results it claims to provide? Your dental practice is no different. People want to know what past patients have to say about how well your dental practice can straighten and fix their teeth. They want to know from other patients what makes your practice’s approach more reliable, efficient, painless, and cost-effective.
That’s why dental reviews from passionate patients are so important for building trust.
But how can you strengthen your dental practice’s reputation even more?
Enter: The dental patient testimonial video.
A dental patient testimonial is an honest, unscripted video in which a patient shows off their new smile and shares their positive experience with your dental services.
By using a dental patient testimonial video, you’re not just taking advantage of the shift towards video content on the internet. You’re also giving potential patients something special to remember your practice by. Testimonials from enthusiastic patients can spark that ever-important emotional appeal that attracts new clients to your office.
Dental patient testimonial videos give your patients a chance to get to know you and to engage with your office before deciding to book an appointment. It’s also an extremely useful marketing tool to promote your practice to your target audience. To learn more about the role videos play in converting prospects into clients, check out this article on the importance of video marketing.
Pressed for time? Below is a summary of the article:
Why Dental Patient Testimonial Videos Are A Winning Video Marketing Strategy
- 82% of all internet traffic is video.
- You’re 53 times more likely to show up first on Google if you have a video on your website.
- Videos demonstrate excellence and build trust and social validation.
- Properly optimized video adds to SEO.
- Most of your competitors are not using video, so you’ll beat them to the punch.
- Video provides a higher ROI (Return on Investment) than other content formats.
- Videos boost brand recall since they are more memorable than text or images.
Before You Get Started On Your First Video Testimonial
Now that you know why dental patient testimonials are so important for your success, you’re probably wondering what goes into making one. Let’s look at some examples. Below are two of our clients’ dental patient testimonial videos.
Dental Testimonial Example 1
This is a video that was shot by a Pain-Free Dental Marketing DIY Marketing Kit client. The video has performed well in ads and on social media. This is a good example of the quality you can achieve with an iPhone.
Dental Testimonial Example 2
This is a video shot and produced by Pain-Free Dental Marketing. Our professional team is able to leverage multiple camera angles, plus run video, sound, direct, and edit. Professional videos are best used for extreme dental transformations and testimonials.
All the Equipment You Need To Film A Dental Patient Testimonial Video
Getting started is easy! Below is a list of all the tools you’ll need to record your dental testimonial video:
- A camera: You don’t need to shoot with a fancy DSLR camera. For our purposes, either a digital camera or iPhone or Android camera works just fine.
- A tripod: This will ensure that your camera or phone is steady and does not shake while you record.
- A Lavalier Lapel microphone: An external microphone ensures that the speaker’s voice is clear and easy to hear.
- An iPhone cable adapter: If you will be recording from an iPhone/iPad. If you are recording from an android device and it does not have a standard audio jack, be sure to purchase the correct adapter “USB-C to 3.5mm or Micro-USB to 3.5mm
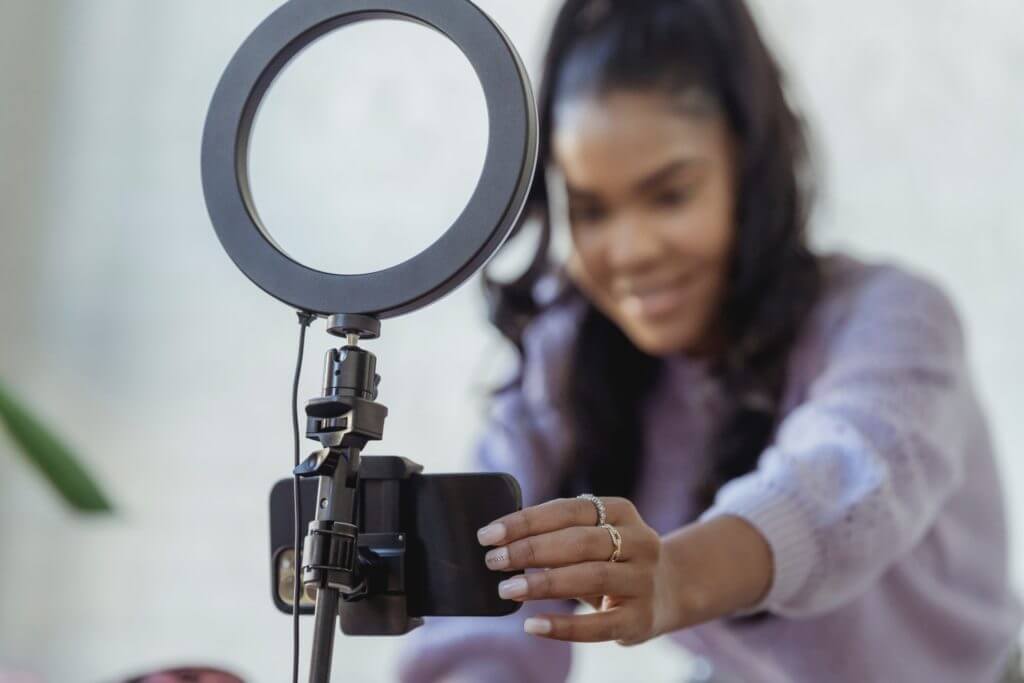
- A ring light: A ring light can enhance your phone’s video quality, minimize shadows, and reduce skin blemishes.
How To Set Up Before You Start Shooting Your Dental Patient Testimonial Video
- Your dental office should be staged as if it were a house for sale. This means removing clutter from countertops, putting away photos, hiding trash cans, hand sanitizer bottles, wipes, etc. Make the area that will be in the shot look clean, light, and simple so that the focus is on the speaker.
- Use a spot in the office that has excellent lighting. Try to avoid very yellow or blue lighting, and avoid an open window being directly behind your video subject. Natural light facing the video subject is best. Remember to utilize your ring light.
How To Film Your Video
Step 1
Ask several long-standing patients if they would like to come in and record a video testimonial. Generally, this makes patients feel special and they are happy to show their support. If you’re planning on asking them at their next appointment, it might be better to film before you treat them. You should ensure you give them a heads up so that they can be ready.
Step 2
Have the patient complete a media release form in which they provide written permission for your dental practice to feature them in a video. This is important for HIPAA guidelines.
Step 3
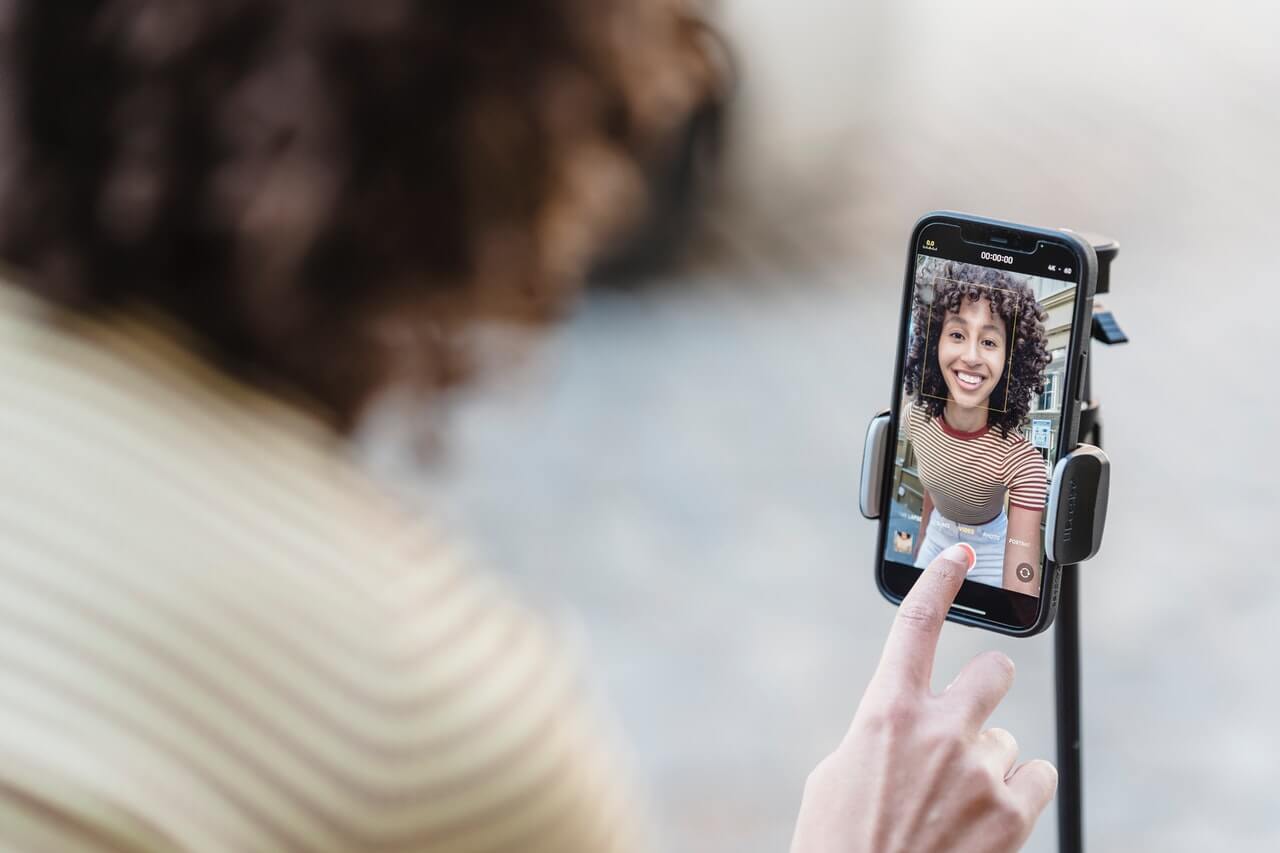
Set up the tripod, phone, and mic. Also make sure you record your video with your phone turned horizontally.
Step 4
Once you’re set up, shoot a quick test video before you ask the patient to begin their testimonial. In addition, you want to make sure the sound is working and that you have a good clear image. This can save you in the long run from complicated edits or redos.

Step 5
Make sure that the patient is natural and relaxed in front of the camera by engaging in some light small talk. Next, start filming! Ask the patient the questions and let them talk. We find it helps to stand directly behind the camera. This gives the patient something to focus on and they receive some facial feedback while they speak. A few questions to consider include:
- Why did you choose our dental office?
- How did the office make you feel?
- Explain what treatment you had done.
- How did it change your lifestyle? How did you feel before and how do you feel now? (e.g. more confidence, can eat foods better, less pain)
Step 6
Once the recording is complete, trim the video as needed.
Editing Your Video
There are multiple free-to-use video editing software’s online that can help you edit and stitch together what you have captured. Hop on Google and search for “free video editing software” and find one that works best for you
We recommend the following:
- OpenShot: OpenShot is an award-winning free to use video editing software that is perfect for beginners. This is the best way to throw something together in no time as the software requires very little skill.
- Lightworks: You’ll find all sorts of high-end features that are normally only available with expensive packages. The one downside is that learning how to use Lightworks can take some time as the interface is fairly complex.
These are only suggestions. If you find something else that works for you, go for it. Just be sure you use software that will not decrease the quality of your video content.
Posting Your Dental Patient Testimonial Video
If you are posting your dental patient testimonial to more than one social media platform, it’s important to figure out what the ideal video length is for that platform. You can also use snippets of the video you took to communicate a specific message in shorter video ads. E.g Post the part where a patient explains how the treatment changed their life. You can squeeze this into a 45-second video and still be effective. Based on an analysis of the average view time for videos our agency posts, here’s what our experts recommend:
- Instagram: 30 – 45 seconds
- Twitter: 45 – 60 seconds
- Facebook: 1 – 1:30 minute
And voila! You’ve completed your first dental patient testimonial video!
You’ve accomplished what most practices are afraid to even try. If you followed our tips closely, we’re sure your video turned out great! If video production is not for you, contact us to let our video-editing experts do it for you.